 Just a little off the top... er bottom of the head.
I wanted to try to do a good job with this engine. After all, it would be the temporary transplant for the Super Ten and the future Roadster powerplant. In keeping with this vision, I had sent out the block, head and manifold for cleaning and "a close shave" (Wallace & Grommet...get it?)
Whenever sending out the head for a neat trim be sure to attach the front cover! This way, everything is at the same level. Think of it, if the head is trimmed and the cover is not, then there will be a difference in a surface somewhere - either for the head-block or head-valve cover joints.
Even with the head back from the shop, there was still some cleaning up work to do. With caustic bath shops harder to find out here (some environmental mumbo-jumbo), I had the shop who carried out the trimming take care of the cleaning as well. They did do a good job, but a little extra elbow grease was necessary. Plus, it is much easier to do this now than once valves and stuff ate added.
I inspected the water channels for any signs of blockages. None to report! I used a die grinder in my airtool to clean up the edges of the water channels as well as clean out the channels for the intake and exhaust. A lot of yucky carbon crud here. Thinking ahead, I wore a mask so that none of it would find its way in me! I found this kind of work to be a nice tonic with the result being a very clean head.
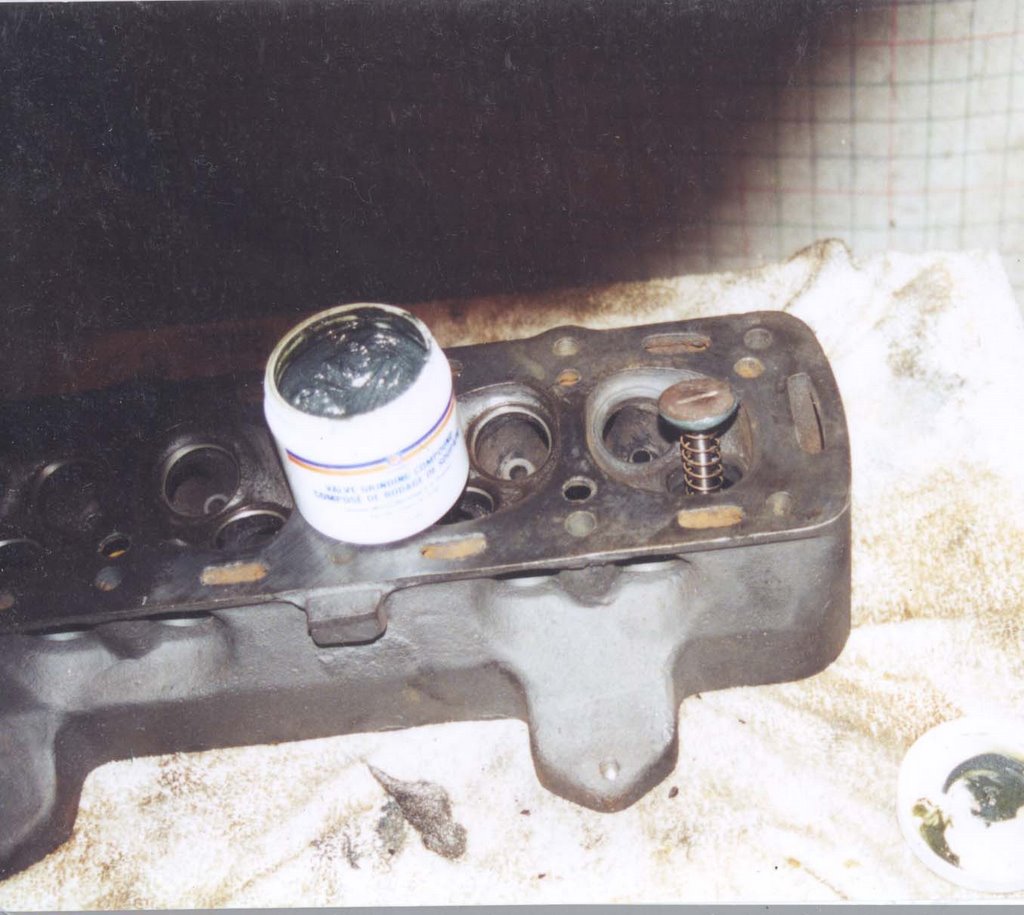 The next step was to grind in the valves. I did this myself and is not difficult to do. The valves even have a slot that allows you to use a slotted screwdriver to make the job easier!
When disassembling the engine, I did note which piston belonged to which cylinder. Same went for the valves. No need to label the inlet vs exhaust valves... they are different diameters! The inlet valves are larger then the exhaust ones.
 A check too of the valve stems (for signs of being bent) and the guides (for too loose a fit) should be done.
Please do not use a drill to make the job easier. The grinding procedure is to make a 360 degree turn in one direction, then a 360 turn in the other. Think of how the cowboys and indians made fire with a stick in their hands. Rubbing them to spin the stick back and forth. Same here.
Prior to insterting the valve into the guide, I smeared some valve grinding compound around the edge of the valve. I also inserted a spring on the valve stem. This is handy since after some back and forth spinning, the compound is squeezed from the valve seat. Allowing the valve to rise up provides an opportunity for some of the compound to settle back where it is needed or more compound can be added.
Once all the valves were ground, I cleaned everything with some thinner, basically to get all the grit out. I replaced the valves, ensured that they were seated correctly, and with the head on its back filled the "bowl" in the head with thinner. I wanted to see if any thinner could get through the seal (between the valve and the seat) into the intake or exhaust channels in the head. Any leakage would be a sign that more grinding is necessary.
In my case, this was not the case, so the valves and springs could be installed.
More on this later...
No comments:
Post a Comment