The piston rings on the engine were all either seized in the piston, missing or broken. A liberal amount of release-all was applied to hopefully work itself in the groove and east their extraction. Once I allowed everything to soak in and loosten up I proceeded to go about the task of getting those pesky bits of ring out. The pint is about 1/16" so no fear of damaging the grooves. A light touch with a hammer knocking perpendicular to the wall of the piston did the trick. Then a few passes with a piston ring groove cleaner and I was ready to go!
In addition to replacing the rings, I also inspected the grudgeon pins and rods to see if they needed replacing. To do so, I would need to remove them.
I have never been lucky with the circlips on pistons. I either bend them or send them flying about the garage, so this time I swore that I would get them under control. Well there would be swearing involved... a lot of swearing.
Seems like even with the right tools, I manage to bugger up these darn tools of the dark side. After pressing my luck with successfully removing the circlips on three of the four pistons my luck finally, and inevitably, ran out. I managed to break the eyelets off one side of piston four. After some tension releasing, I did succeed to get the clip off the other side.
Inspection of the grudgeon pins and rods did indicate that I needed to replace two pins and one con rod. I did have a few spare bits only to discover that some of the big ends of my spare rods were slimmer than the one I needed to replace. Thankfully I did have one that would do.
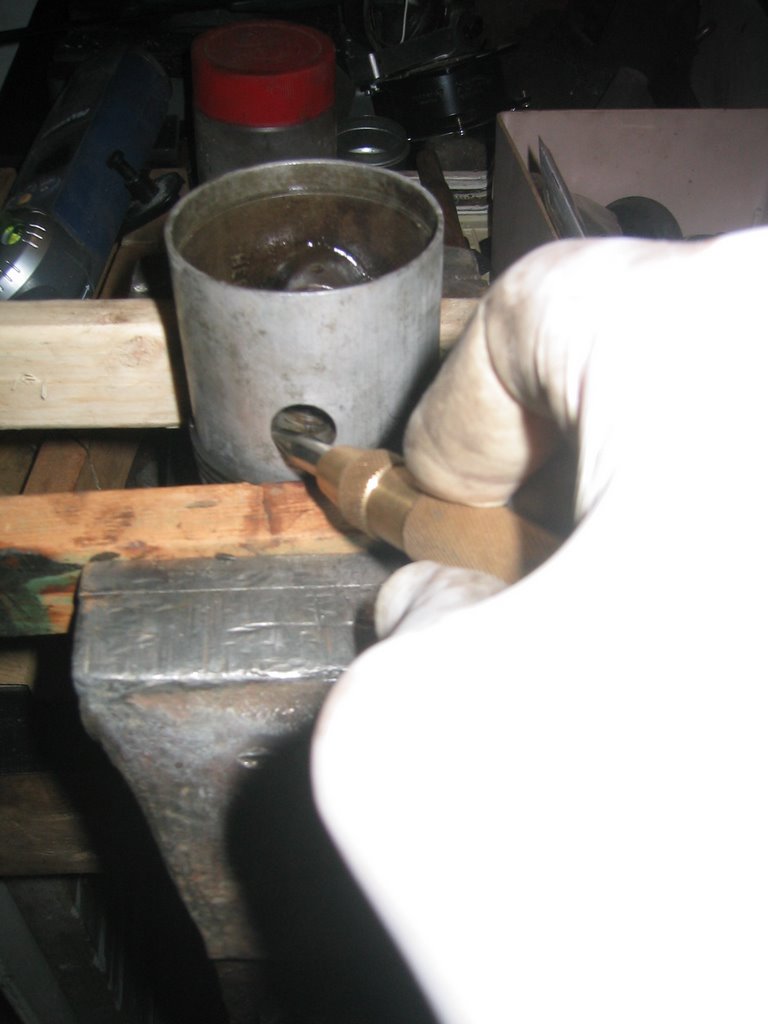
 I still had to deal with half of a circlip in piston number four. After prying and picking with various forms of picking and prying apparati, I decided that the only way to remove it was to cut or break it in two. I was intent on drilling a small hole at the midpoint of the remaining bit of clip in a desperate attempt to remove the stubborn clip. I realized that my chances were slim, but I had reached the end of my rope! Fist a small dimple in the hardened steel to guide the bit. My trusty centering punch would do the job. It did and then some! The sharp force delivered by the point of the punch cracked the clip! Two more snaps and the last holdout was gone.
 Installing the piston rings was a snap - literally! First I applied a liberal amount of oil to the piston, the groove and the ring to be installed. Then starting with the bottom ring, the oil scraper, I gently eased it into place. The second and top rings were next.
When spacing the gaps make sure to avoid placing them in line with the ends of the grudgeon pins.
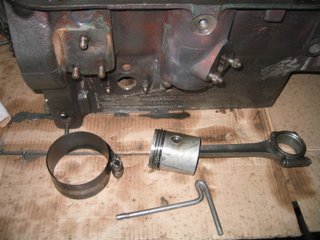 With the pistons assembled and ready it was time to install them into the block.
This is where the planning and notes come into play. I marked all pistons and rods with their corresponding cylinders. Also remember that the pistons have a front and back so yet another thing to align!
 More oil on the piston, the rings, the ring compressor and the bore. Then it was just a matter of getting the ring compressor to cooperate. I am glad that the 9 HP engine has only four cylinders!!
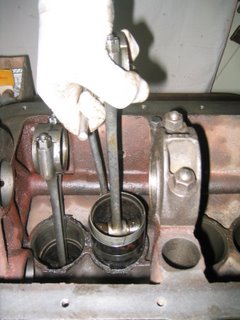
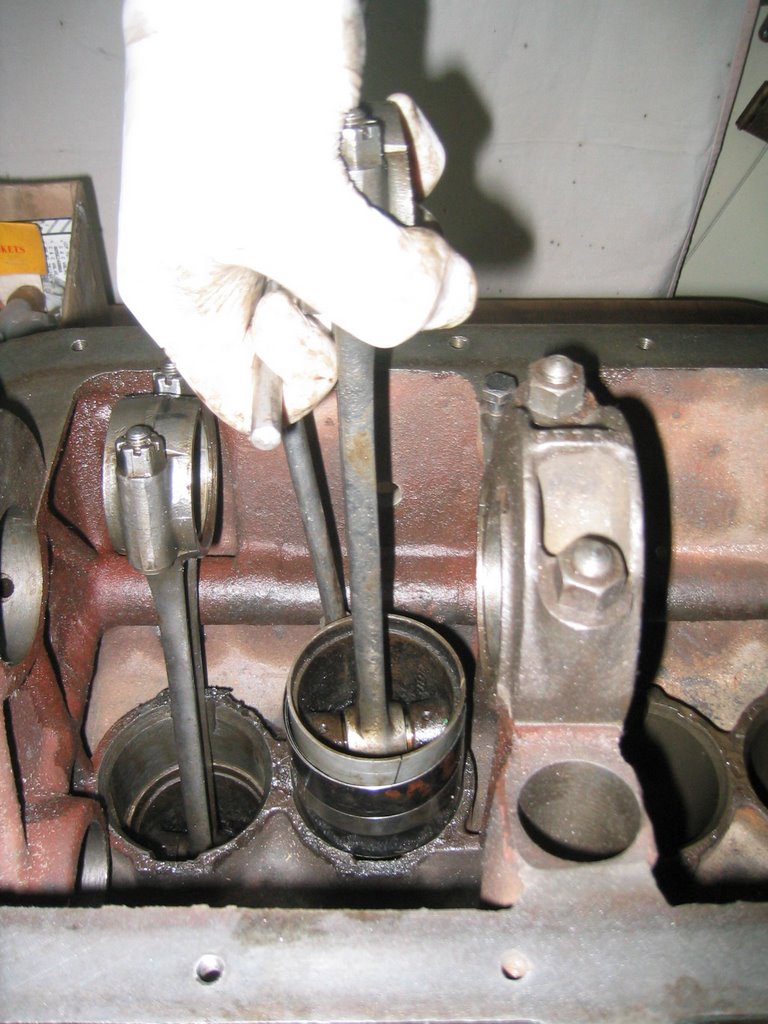
One by one, the pistons were inserted into their respective cylinders.
I decided to take a break.
In addition to replacing the rings, I also inspected the grudgeon pins and rods to see if they needed replacing. To do so, I would need to remove them.
I have never been lucky with the circlips on pistons. I either bend them or send them flying about the garage, so this time I swore that I would get them under control. Well there would be swearing involved... a lot of swearing.
Seems like even with the right tools, I manage to bugger up these darn tools of the dark side. After pressing my luck with successfully removing the circlips on three of the four pistons my luck finally, and inevitably, ran out. I managed to break the eyelets off one side of piston four. After some tension releasing, I did succeed to get the clip off the other side.
Inspection of the grudgeon pins and rods did indicate that I needed to replace two pins and one con rod. I did have a few spare bits only to discover that some of the big ends of my spare rods were slimmer than the one I needed to replace. Thankfully I did have one that would do.
 I still had to deal with half of a circlip in piston number four. After prying and picking with various forms of picking and prying apparati, I decided that the only way to remove it was to cut or break it in two. I was intent on drilling a small hole at the midpoint of the remaining bit of clip in a desperate attempt to remove the stubborn clip. I realized that my chances were slim, but I had reached the end of my rope! Fist a small dimple in the hardened steel to guide the bit. My trusty centering punch would do the job. It did and then some! The sharp force delivered by the point of the punch cracked the clip! Two more snaps and the last holdout was gone.
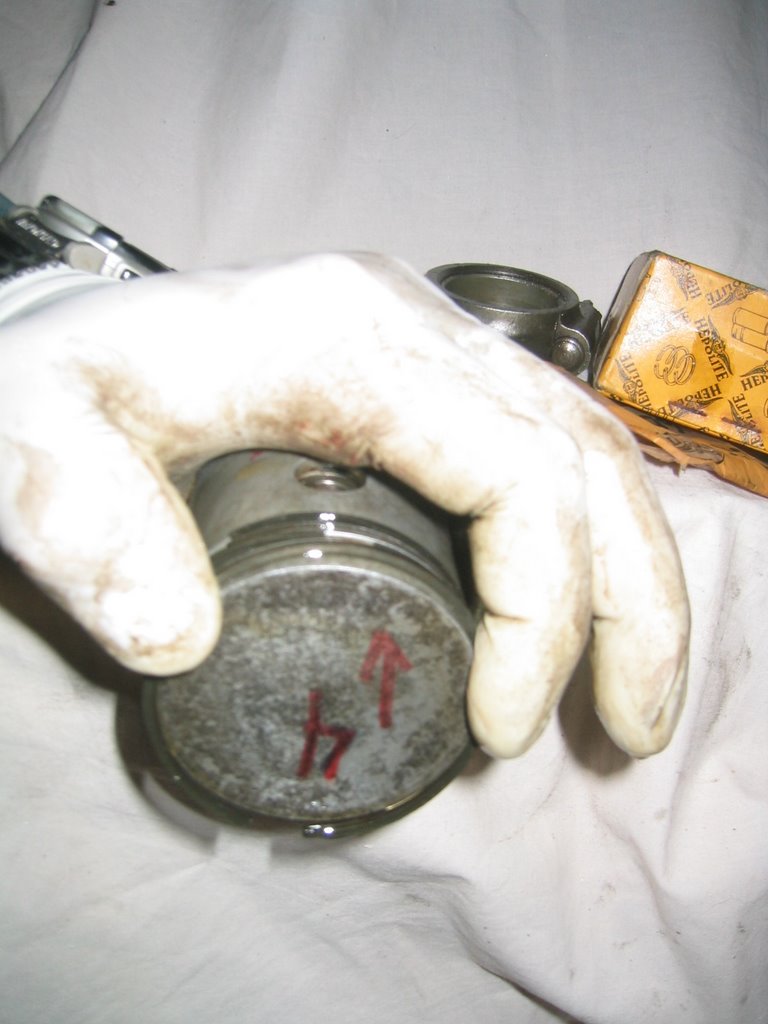 Installing the piston rings was a snap - literally! First I applied a liberal amount of oil to the piston, the groove and the ring to be installed. Then starting with the bottom ring, the oil scraper, I gently eased it into place. The second and top rings were next.
When spacing the gaps make sure to avoid placing them in line with the ends of the grudgeon pins.
 With the pistons assembled and ready it was time to install them into the block.
This is where the planning and notes come into play. I marked all pistons and rods with their corresponding cylinders. Also remember that the pistons have a front and back so yet another thing to align!
 More oil on the piston, the rings, the ring compressor and the bore. Then it was just a matter of getting the ring compressor to cooperate. I am glad that the 9 HP engine has only four cylinders!!
One by one, the pistons were inserted into their respective cylinders.
I decided to take a break.
No comments:
Post a Comment